How to Clean a Telescope Mirror
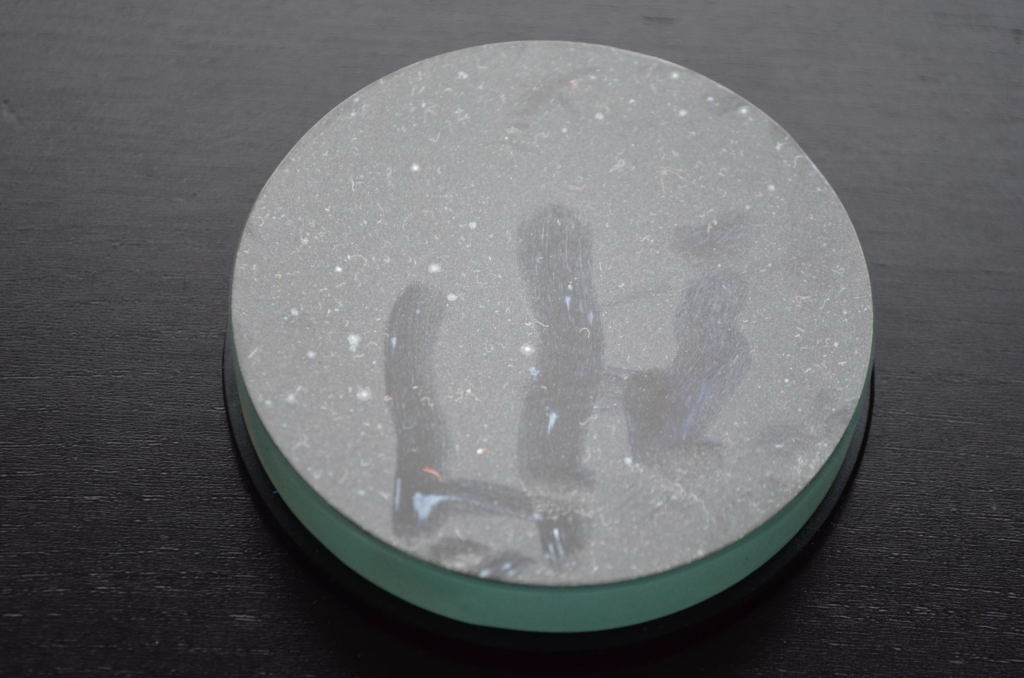
I recently took the plunge and bought a
big Dob. I got it slightly cheap because the guy selling it (bless ‘im) clearly thought the aluminising was shot. It
wasn’t: he’d kept it in the kitchen and the mirror had a thin film
of cooking grease that made it look dull. Now a bit of dust and dew-spotting on
a mirror is best left alone, but this went well beyond that and it needed a
clean. But how?
So I did some research, then took a
deep breath and poured a gallon of water in the business end of my new Dob. By
the end of the process my Dob mirror looked like new, so I’ll share it
with you using a much smaller mirror so it’s easier to see how it’s
done.
The whole process takes about 40
minutes. You can remove the mirror (as in the photos below) if it’s a
small one, but I did my dob’s 16”
mirror in situ, as I reckoned that the risks of removing it were greater
(incidentally, Starmaster telescopes
agree).
Usual disclaimer that I take no
responsibility if this goes wrong (but if you follow these instructions no
reason why it should).
Step 1 – Clear your work space
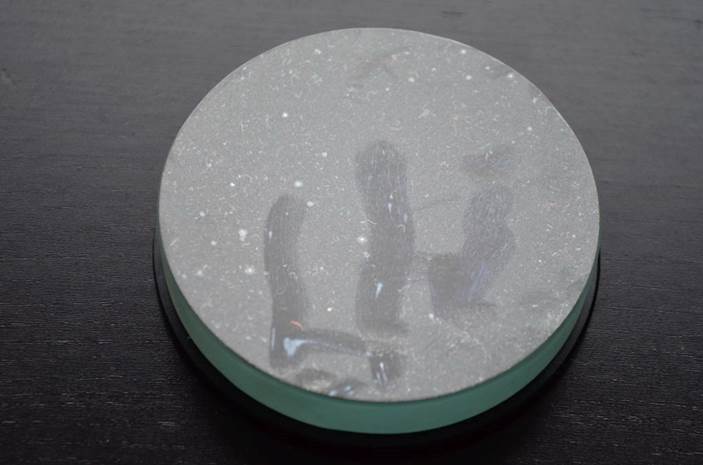
· First things first. If you do the
washing up (and you do, don’t you?) fine – you’re in control.
If not then lock your significant other out of the kitchen for the duration.
· Clear the area and make sure it’s
clean.
Step 2 – Feel the fear and pour
anyway
You can’t wash an objective lens. If you try you’ll likely get
water between the elements. But mirrors are single element and generally sit in
open cells. So though it feels weird (really wrong, actually), you
can indeed wash them and doing so arguably exposes them to much less scratching
than using wipes and cleaning fluids.
· Unless your water is very hard you can
use clean tap water for this (a good reason to use a jug is that you can spot
floaters from the tank before you pour!)
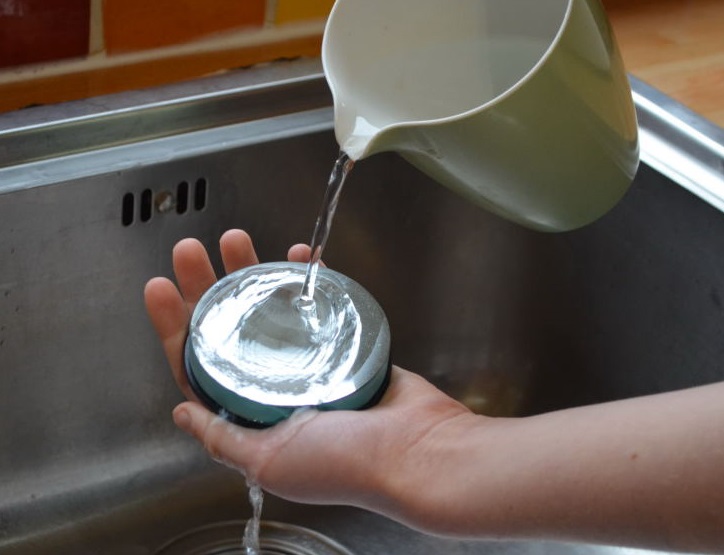
· So you start by pouring on enough water
to fill the mirror and then some. I’ve seen shower heads used, but I just
poured gently from a carefully-washed jug. This will wash off loosed dust and
crud.
· I don’t need to warn you about
the risks of dropping jug (or shower head), so hold tight while you’re
doing it!
· Now let it soak for a minute or two.
Step 3 – Add detergent
Some folks have used washing up liquid.
But there is a potential problem. Washing up liquid often contains salt to
reduce smearing and this <might> affect the coating. So to be on the safe
side I used a special detergent that came with a kit for washing spectacles
using a special bath. The kit (by ‘Freiblick’)
came from Germany, where they are apparently common, but I found a similar
thing here in the UK advertised as a ‘lens bath’.
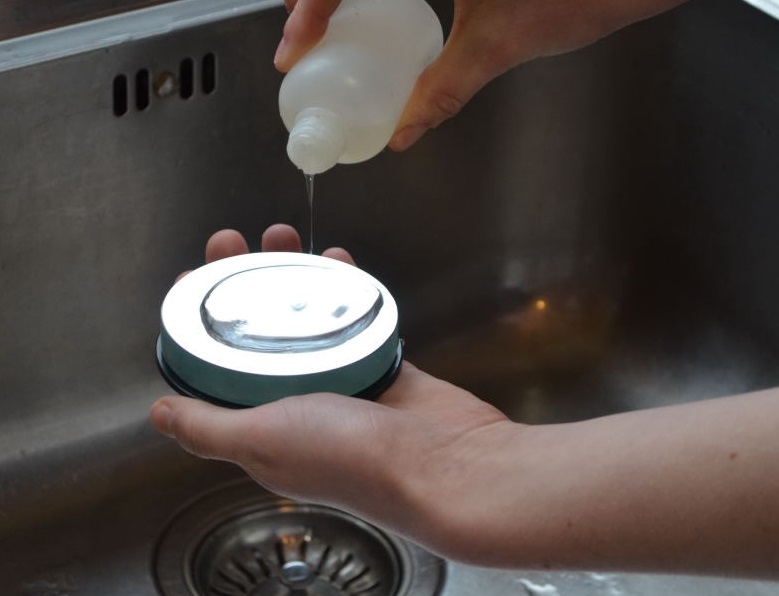
· Squeeze on a little detergent - perhaps
20 drops on a big mirror, but the small one shown needed just a few.
Step 4 – Wash your hands
Let’s get the objections out of
the way. Many feel appalled at touching a mirror, though several leading
experts recommend it, with careful control and understanding.
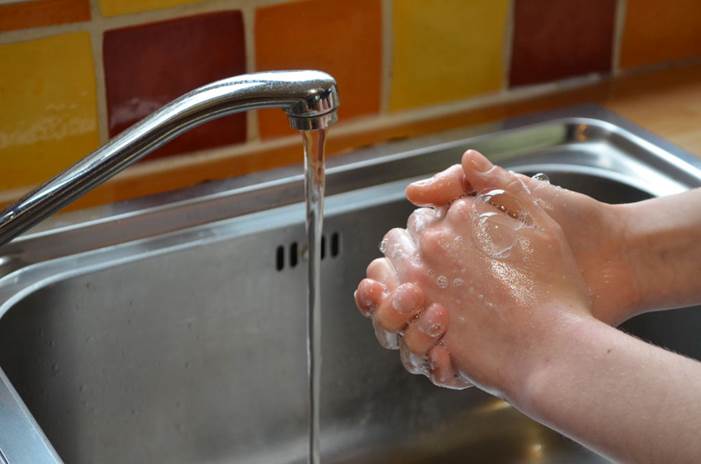
But first wash your hands thoroughly
(several times in my case), use a scrubbing brush if necessary and don’t
touch anything else before the mirror!
· Obviously if you work as a builder, or
garden a lot, you would need to take special care to remove any trace of grit
(or better get someone else to do it, as I did for the photos).
Step 5 –
Swirl
· Swirl the soapy water about on the
mirror gently with your fingers (you don’t need to touch it yet).
· Leave it to soak again for a minute or
two.
Step 6 –Clean the mirror surface
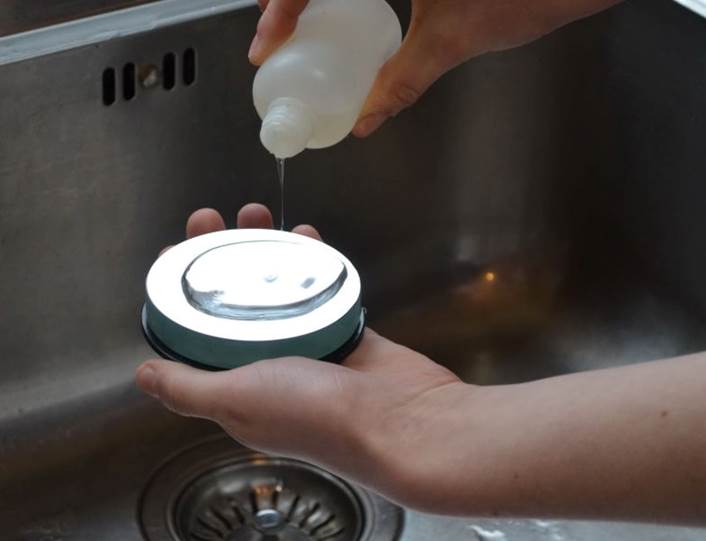
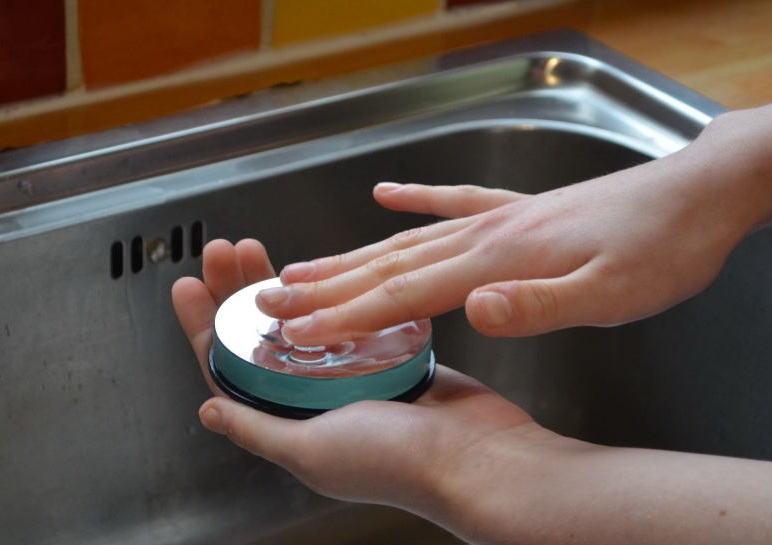
· Using very light pressure and the pads of
your fingers, work over the whole area of the mirror to clean it. Don’t
rub! A gentle, gliding motion is all that’s required.
Step 7 – Rinse
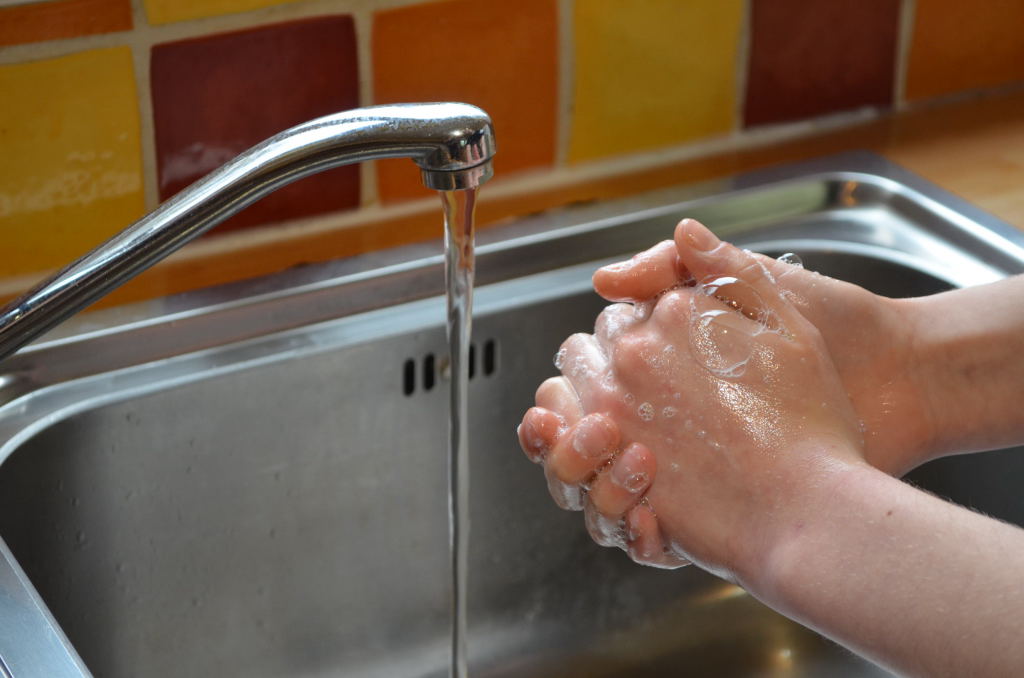
· Unless your water is very soft or
you’re not bothered about a few water marks, you’ll need de-ionised
water for this stage. I bought a litre from a hardware store for a few pounds.
· Pour the water onto the mirror until
all the suds have gone.
Step 8 – Dry
· Stand the mirror (or mirror box or OTA)
on its side and let the water drain for fifteen minutes or so.
· Let the mirror air-dry, but use kitchen
towel to dry the cell and OTA (if the mirror is in situ).
· You can very gently, from a distance,
blow warm (NOT HOT!) air from a hair drier to help the drying process.
You should now have a perfectly clean,
like-new mirror. No marks, no scratches, no greasy haze.
Clean mirror (apart from a couple of
dusty fibres picked up whilst drying).